Hello lovelies, As promised today I am sharing 2 easy summer hairstyles for you guys using a flat-iron. I am using an Irresistible me Diamond Hair Straightner for this tutorial

2 Easy Summer Hairstyles Using Straighter
Let me tell you a little secret- I am the most laziest person when it comes to brushing and styling my hair lace wigs. I survive weeks without brushing or combining it, a lot of my insta posts are evidence of it (see here, here and here). So, you can expect how little I expose my hair to heat. I typically air dry it every time I wash my hair. The only time, I use heat is when I want curls. I know they are lot of heat less options to choose from but I find them very time consuming and then there is always a fear of how are they are gonna end up looking.
I believe a good flat-iron or curler (Tourmaline or Ionic recommended) and a heat-resistant spray will not do much of a damage to your hair when used occasionally. This is my first time using diamond flat-iron and I am pretty impressed by it’s quality and price.
Diamond straighter has ceramic blades with crushed diamond particles mixed with tourmaline (most durable and well-loved in the beauty industry). This flat-iron heats up pretty quickly (as it has tourmaline), hold its heat well, and leaves hair looking healthy and shiny rather than crispy and fried like some other straighteners. You can see my end picture, my hair looks as healthy as before and if you observe, it’s actually little shinier than before. The other thing I like about the straighter is it has a digital display that shows temperature. you know exactly on which temperature you are working on with a single glance. It also has a start button which automatically goes off if you are not using it (can get little annoying if you are pausing in between styling)
As you know now which tool to use, let’s get into the tutorial without further ado
1. Side Ponytail

side-ponytail-tutorial-dl
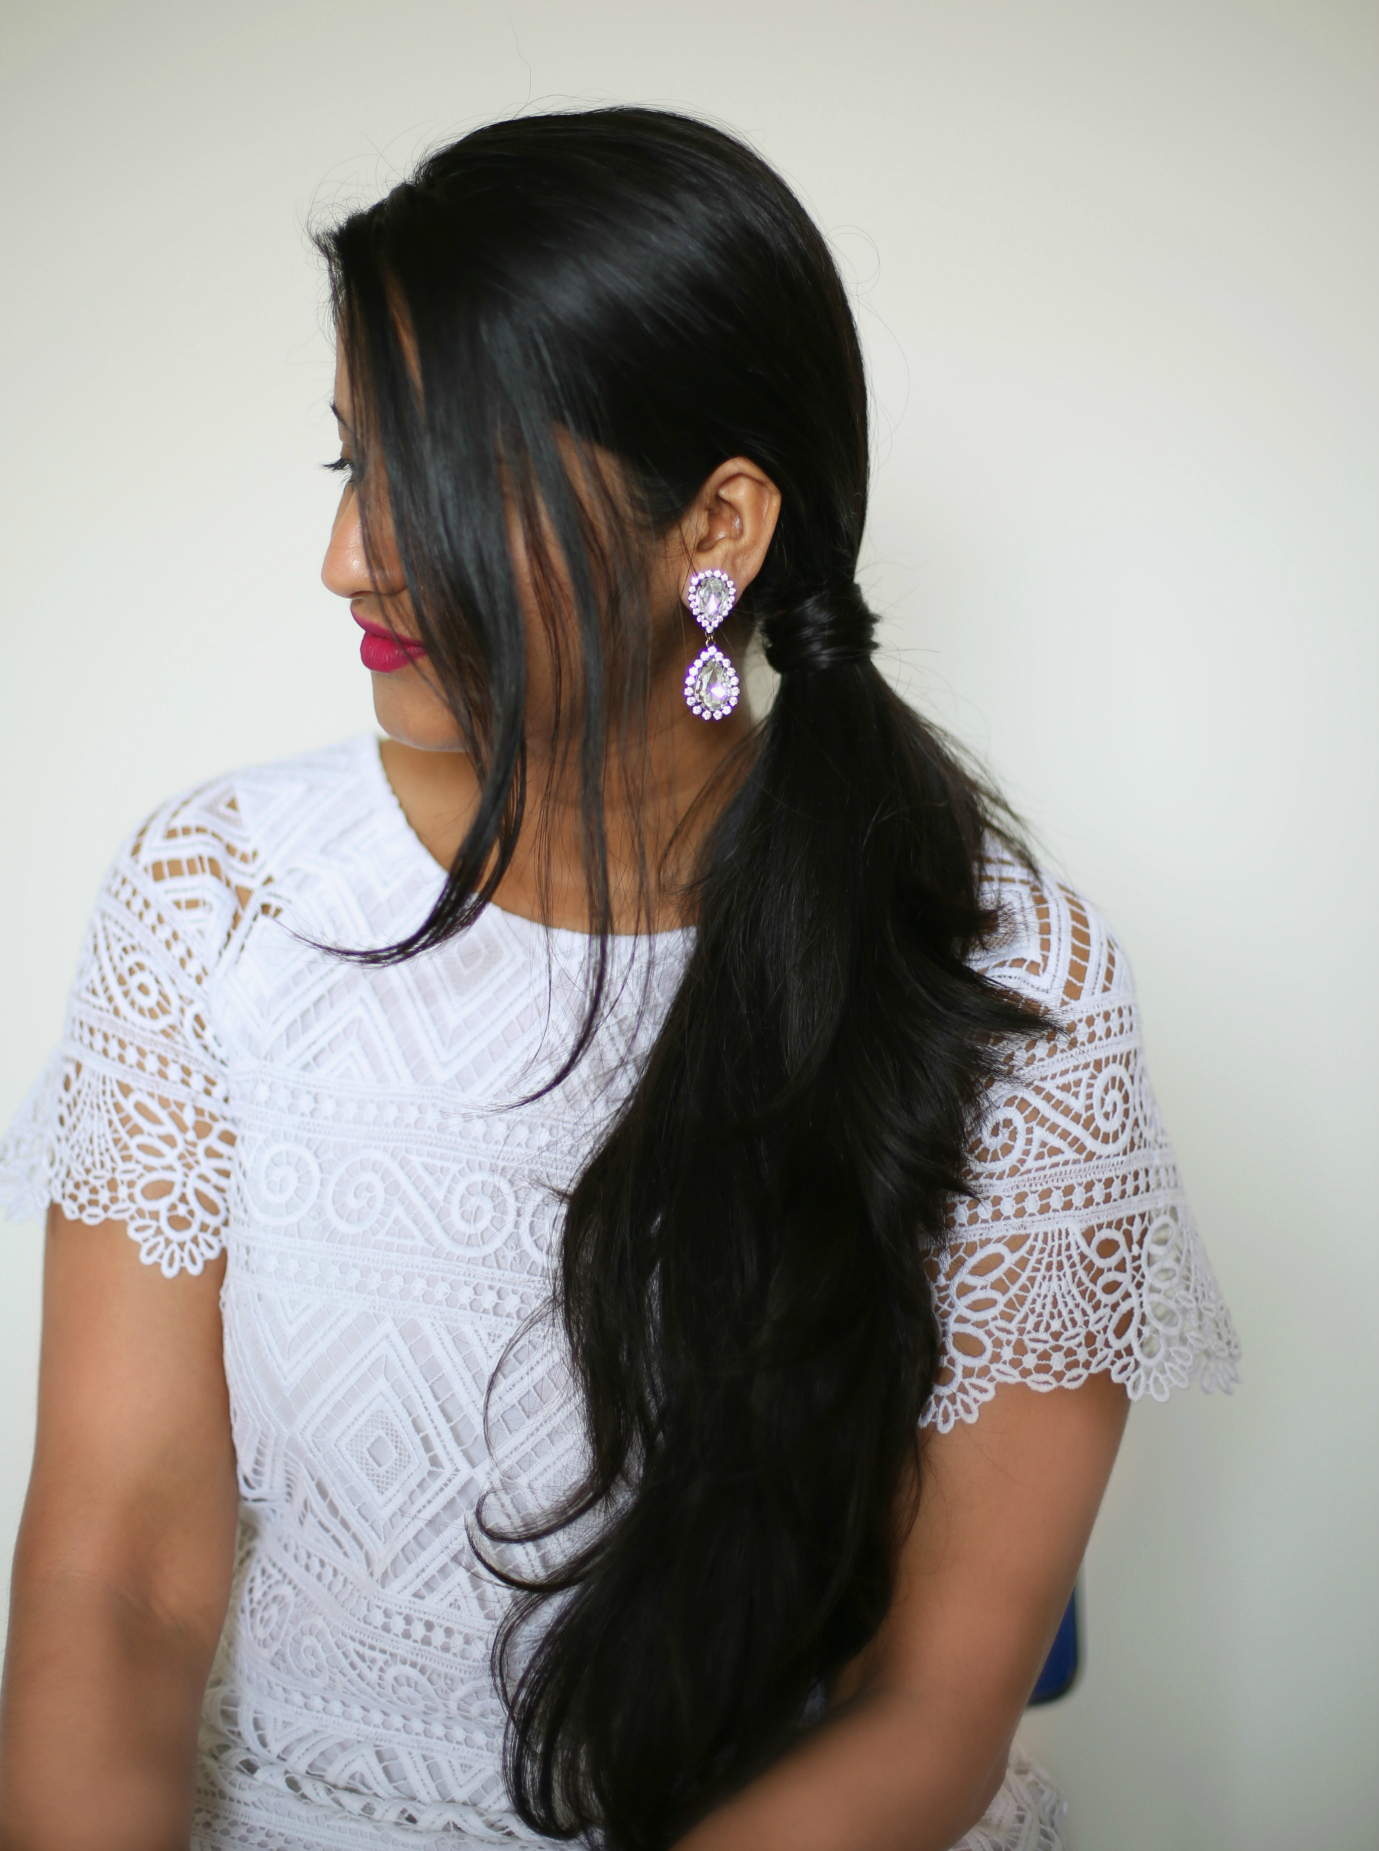
I wore a side ponytail many times (here and here) as it’s super easy to do (takes around 5-10 mins) and the finished look is very poised and elegant. Lets see the step-by-step procedure
1) Section your hair in the middle or by side however, your natural hair flows and brush it to remove any tangles.
2) This step is optional. if you have a straight hair or just don’t want to use heat or just lazy (like me), you don’t need to straighten it. I am doing it as I want a more straight hair ponytail. First apply heat protector then take a section of your hair, and run the flat-iron down the length of your section.
Note – If you want more straight look, take smaller section and work on them.
3) Brush all your hair to one side maintaining the middle or side section (leave the smaller section as I did in the first picture) and secure it a with a hair tie just below your ear. Take a smaller section from the ponytail and rotate it around the rubber band
4) Secure the loose end after rotating with a bobby pin and you are good to go.
Wear a statement earring to achieve a more crisp look. This hairstyle is perfect when you are dressing up in summer for a wedding or an office party.
side-ponytail-with-flatiron-dl-2
Wearing – Lauren Hope earrings (c/o) (through rocksbox)
2. Summer Beach waves
beach-curls-tutorial-dl
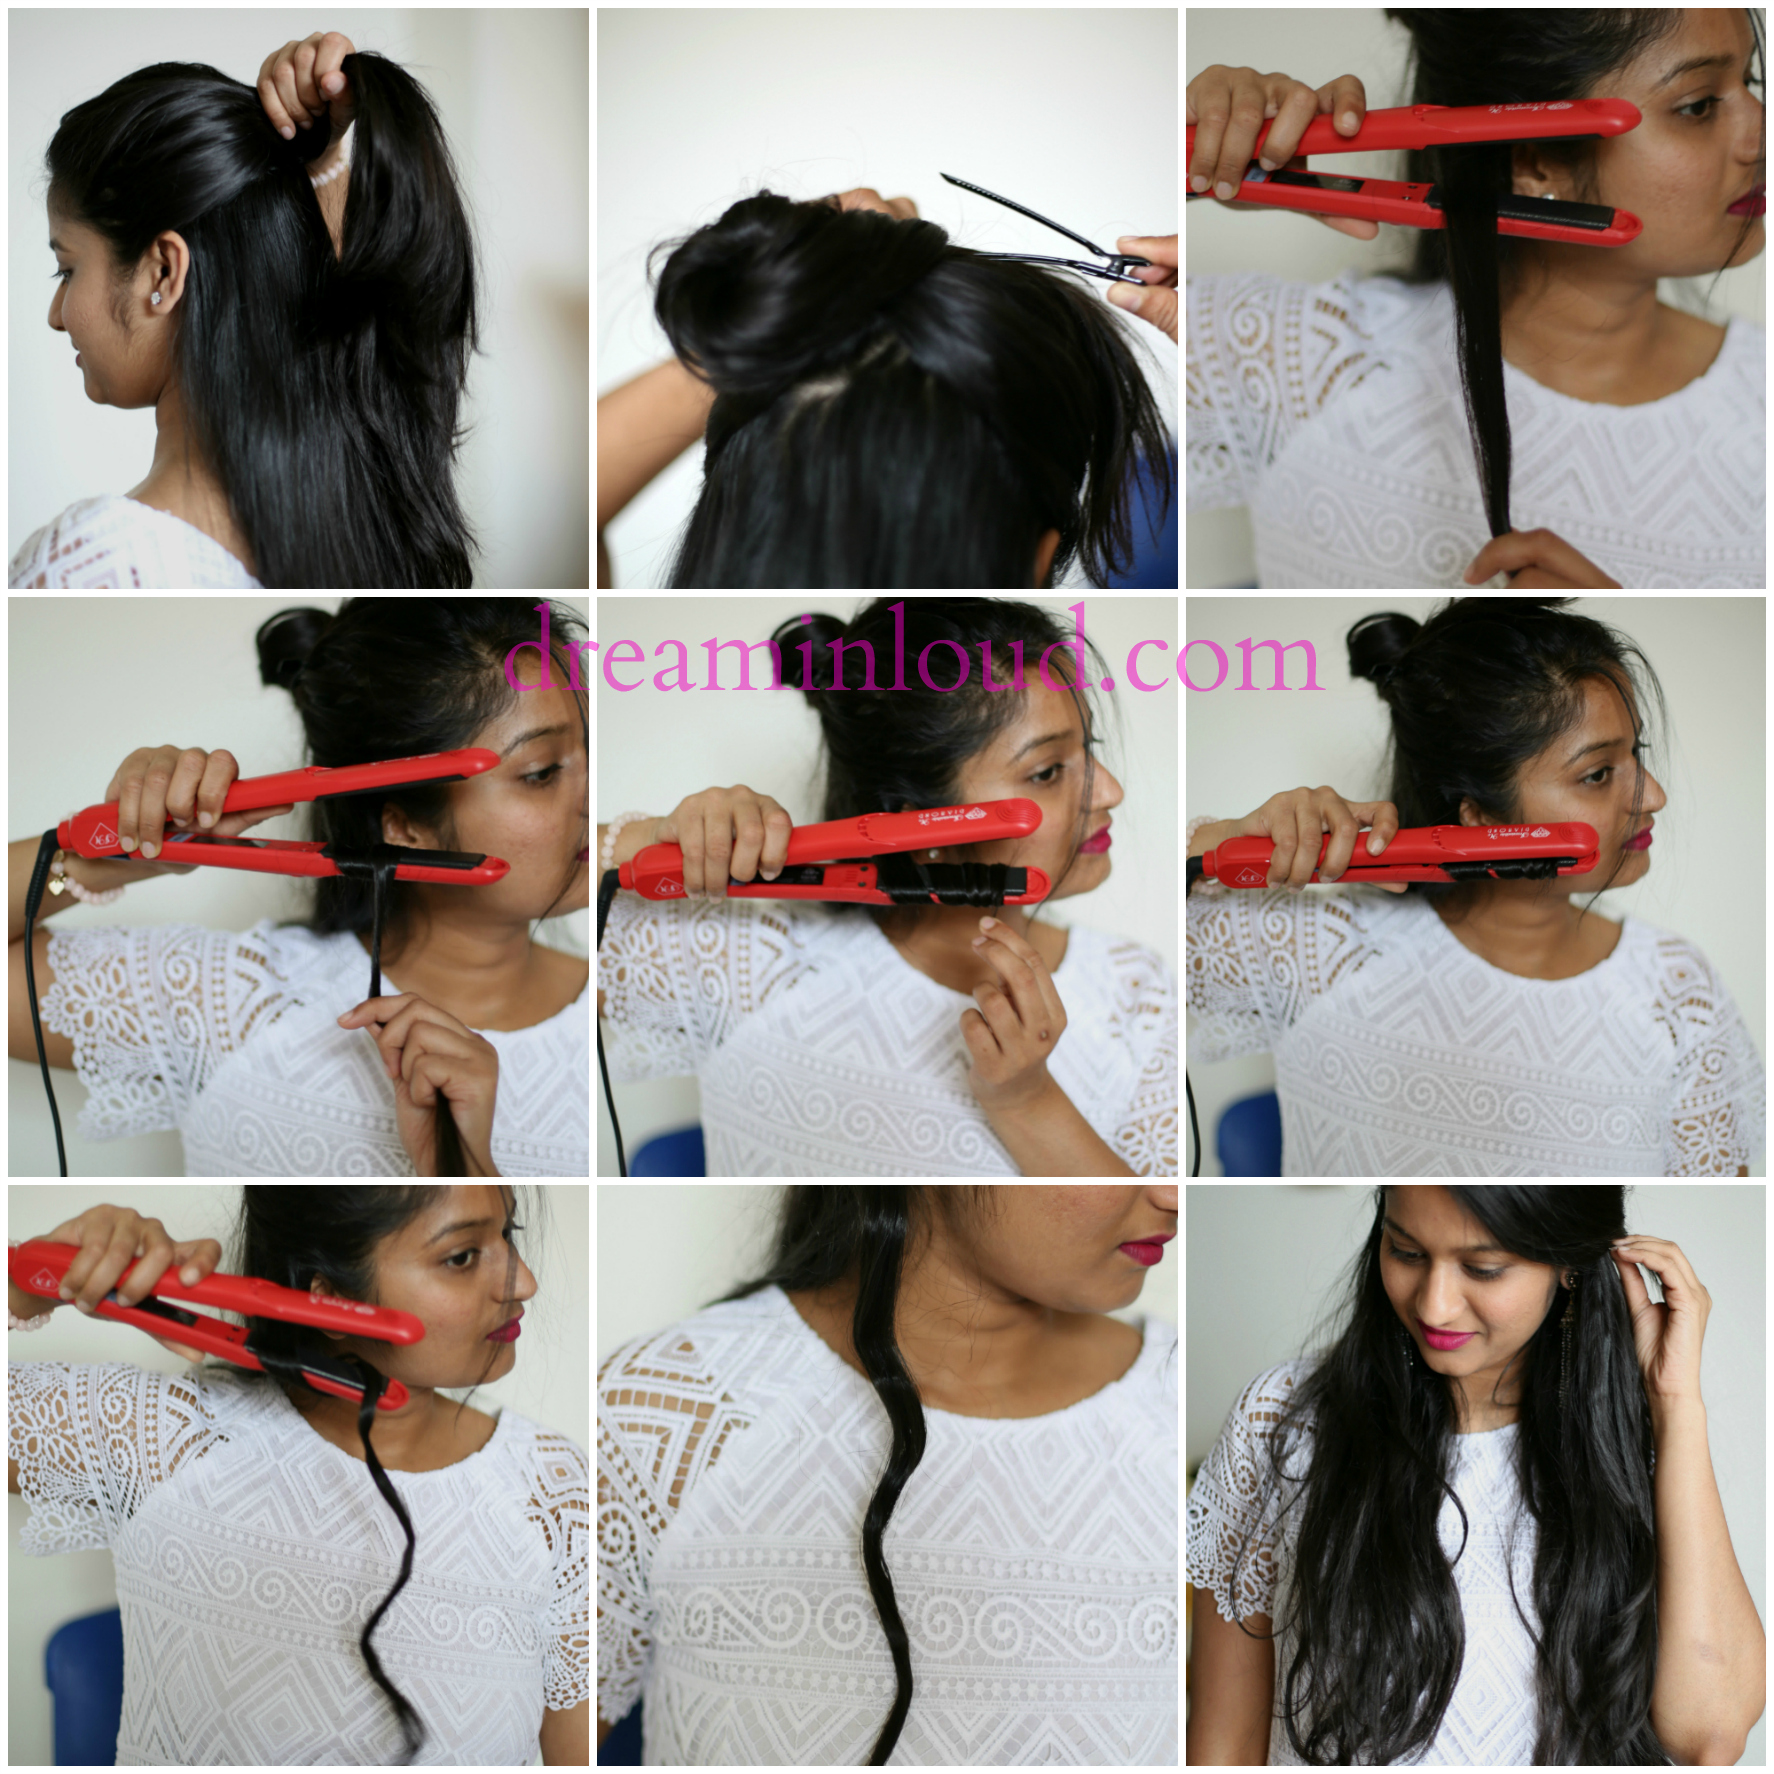
From swim suit to maxi dresses, there isn’t probably any summer outfit that will not look great with a wavy beach curls. I personally love it as they look naturally sexy (probably enough to hop on a straighter right away). If you don’t know how to use a curler or finds it time taking or difficult but still wants those dreamy beach curls. I have you covered girl! After several hit and trail methods, I figured out a super easy technique (on my own) with a flat-iron. Here is the step-by-step breakdown-
1)If you have thick hair like me, it is better to curl it in sections instead of trying to attack the whole mess at once. Tie up the hair above your ear into a bun and secure it with a clip
2) Take a smaller section of your hair between the clamps. Starting fairly close to the scalp (but not too close enough to burn it) rotate the section around the lower blade carefully without burning your hands (recommend wearing a heat-resistant gloves)
3) Clamp the straightener closed for few seconds (for tight curls hold for some extra time) and then release it.
4) Repeat it for every section of your hair. Finish the lower section first and secure it with a clip. Then, take a portion of the upper section and work on that and then clip it with the lower section. Likewise, work on smaller sections to achieve a complete wavy curls. Apply curl defining cream for your curls to stay longer.
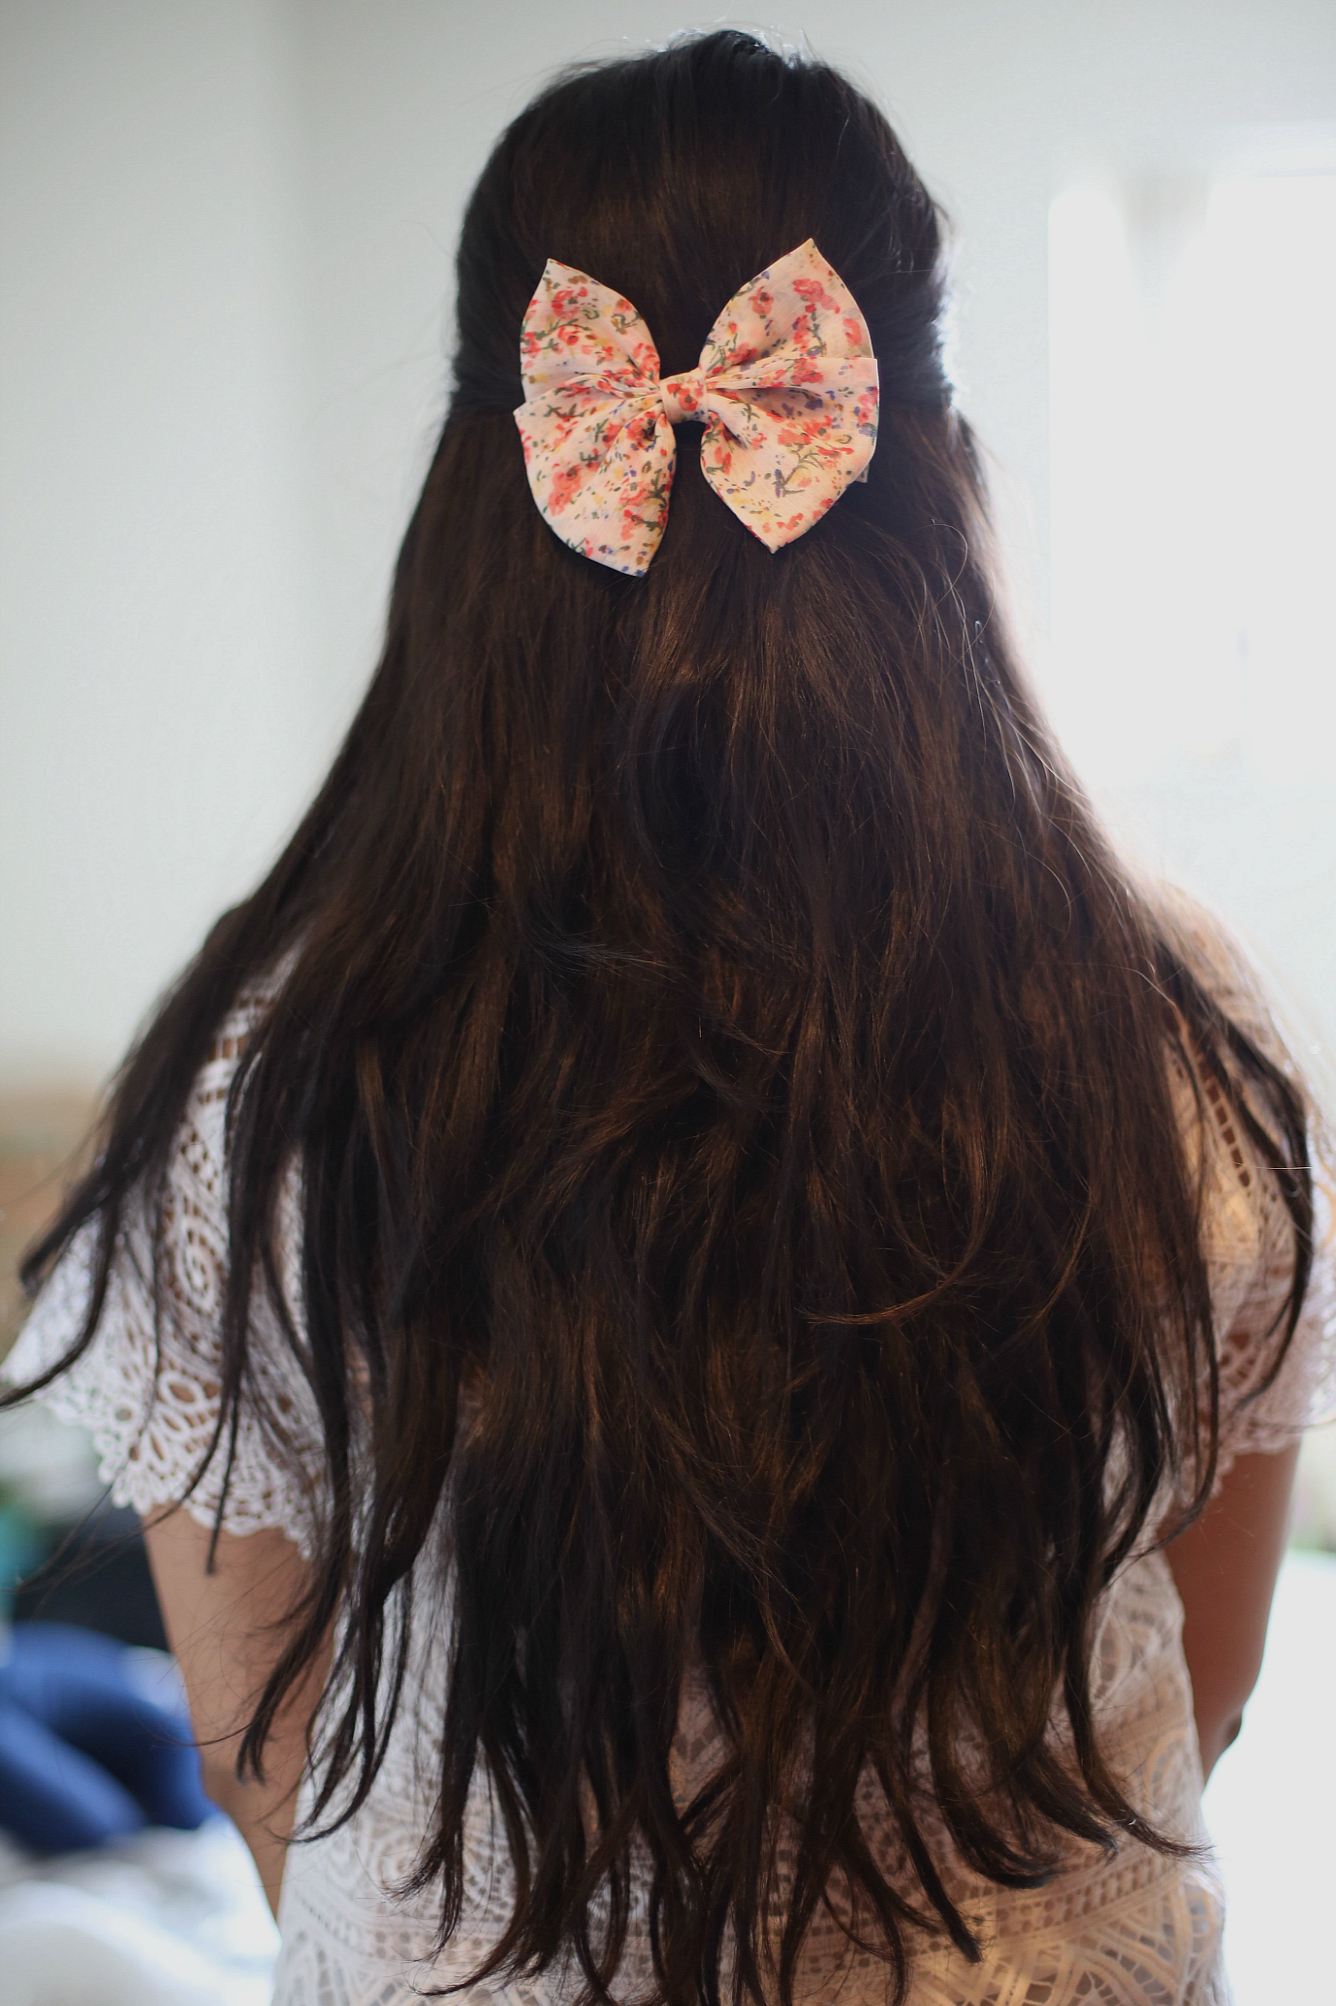
I took the smaller upper section on either sides and secured it with a bow 🙂
beach-wave-curls-hairstyle
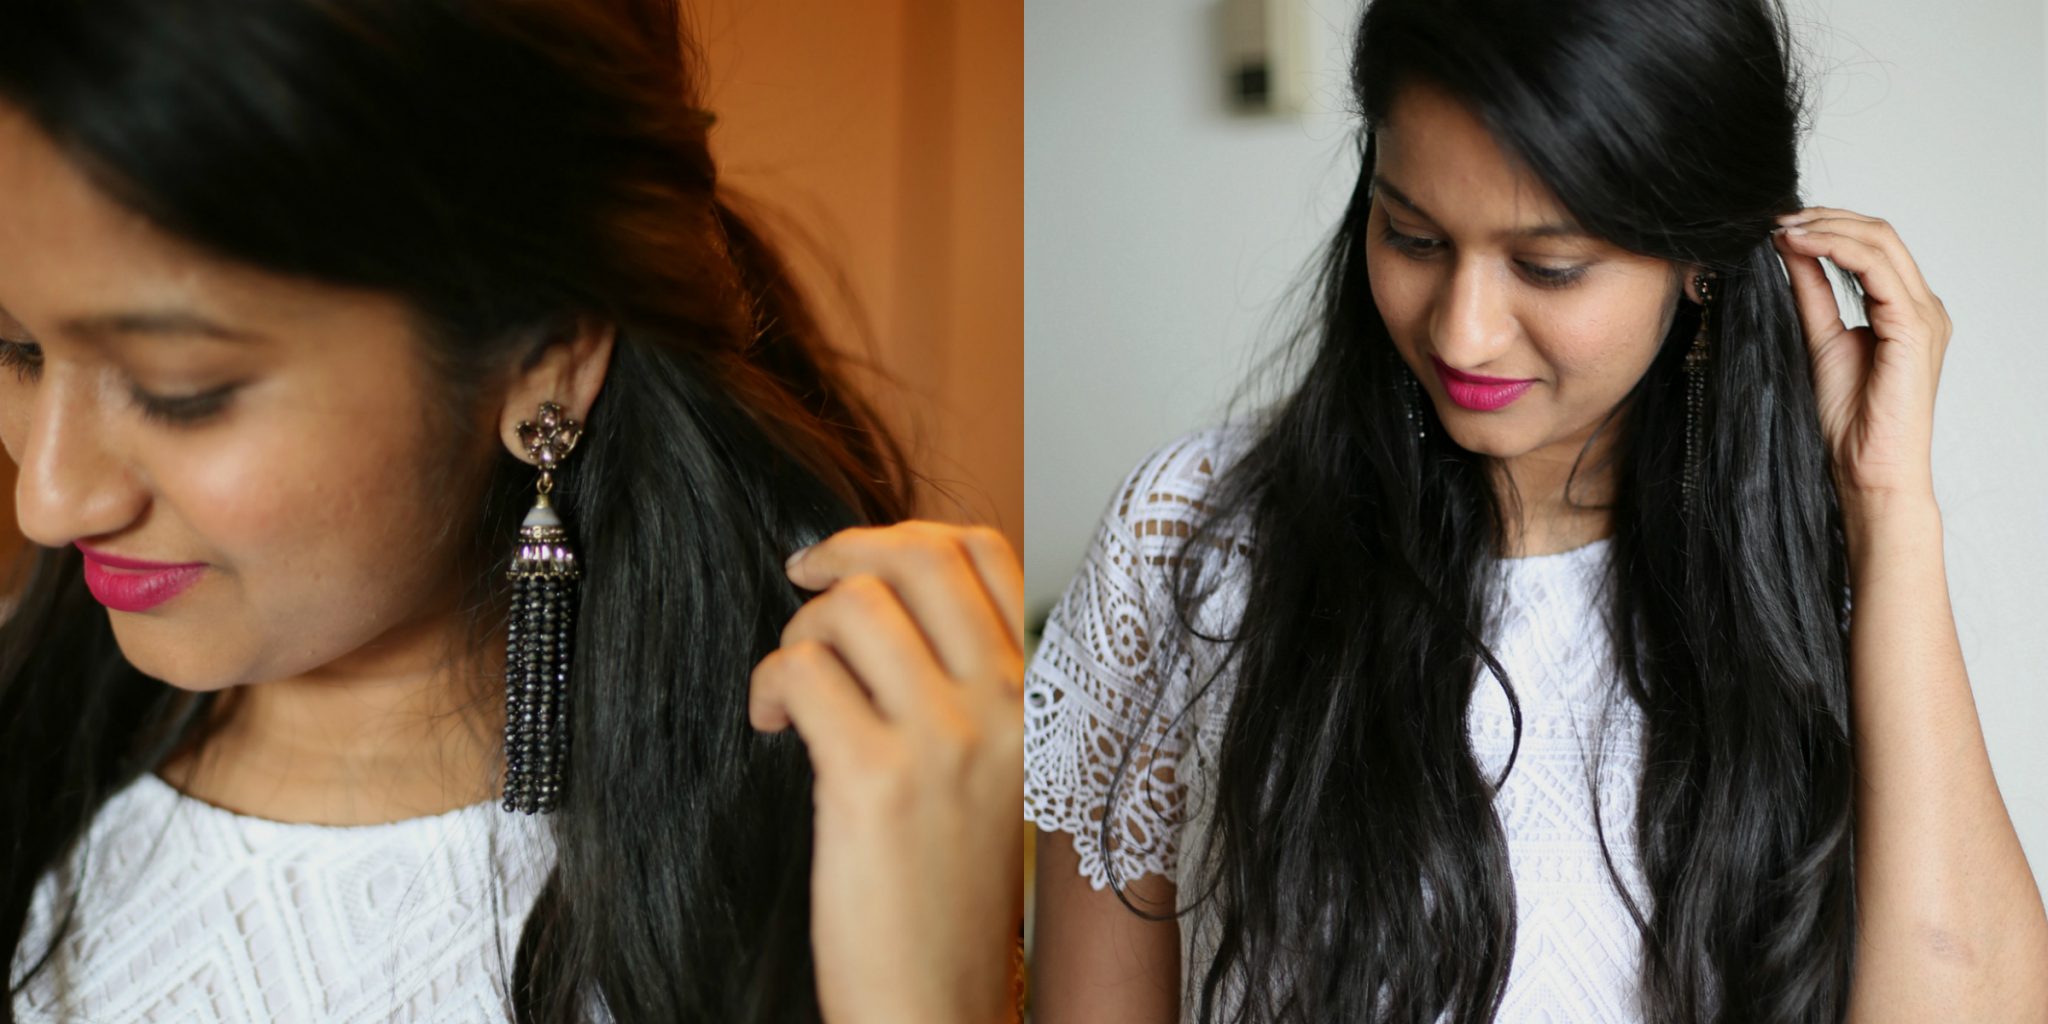
Here is how it looked for the front
beach-waves-hairstyle-dl
Wearing– Madewell Dress // Baublebar Earrings
Tools- Irresistible Me hair straighter (c/o) // Yarok Heat Protector // Yarok Feed your Curls
Which hairstyle you liked the most- 1//2 ? If you want to see any particular hair tutorial. leave them in comments.
This post is brought to you by Irresistible Me



Awww thanks for this awesome post.!! Never knew hair do is soo much fun.!! Thanks for making my life easy 🙂
Btw i love ur beach waves secured with that cute little bow..!!!!
Thanks Akhi. I hope this is exactly what you are looking for when you asked me for hairstyles
I have never been successful at beach waves. Will try them again 🙂
∞ © tanvii.com ∞
This is super easy to make. I figured our after a lot of failure attempts. All you need is a good hair straightener
those waves look awesome! im growing my hair right now and will definitely give it a try.
You have such lovely hair
Filipa xxx
PlayingWithApparel.com | Instagram
I love how you did so many great styles with your straightener! I’ve always wondered how to do waves with it.
Can’t wait to try these! Thanks!
I’ve always been so bad at wavy hair with straighteners. But the side pony is my fav!
So stunning lady!! You have fabulous hair!!
XOX
Candice
http://www.candicestubblefield.com
You have gorgeous hair! You will suit any style 🙂
Love this post! Great for this time of the year and your hair look gorgeous! Thanks for sharing! x
Ninz
Amazing post! Thanks for sharing! Love it! Happy Wednesday!
much love, Len
http://www.lenparent.com
Your hair is gorgeous. 🙂 And I love wrapping my ponytail band with some hair strands, I think it looks a little nicer and “more grown up” if you can’t see the elastic.